Lower Bathroom Renovation, Fall 2010
October 2, 2010
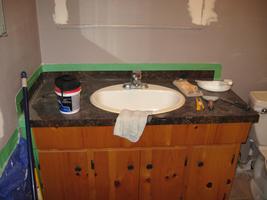
Preparation
For some reason I cannot totally fathom, I was working in my office, looked over at the bathroom and decided it was time to paint. The bathroom without at doubt the ugliest room in this house, having been painted "Puke" - a combination of green, crimson and white - by the previous owner. We have decided the paint color was created by dumping the remaining green (lower living room and kitchen) and crimson (lower bedroom) together in a bucket, then adding white to 'lighten' it. As mentioned, I call the color "Puke".
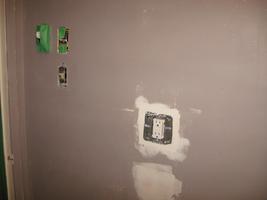
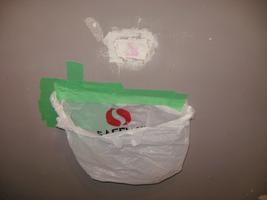
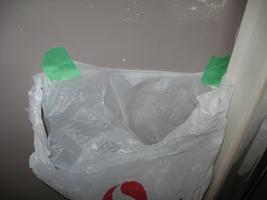
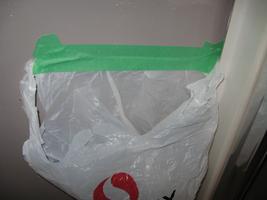
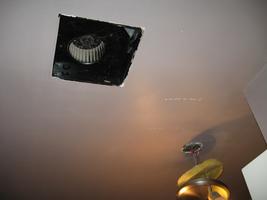
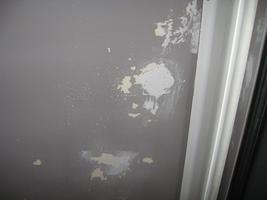
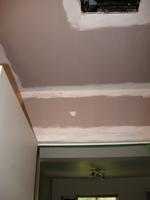
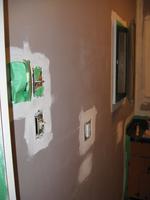
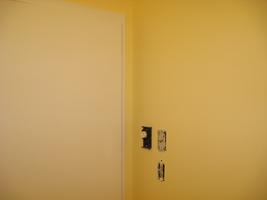
Over the past many weeks as I worked on the generator electrics, I found myself required to attend to drywall patching. One thing leads to another and soon I was patching areas not connected to the generator installation - like unnecessary outlet boxes for long gone satellite dishes (the 10foot kind with directonal motors), missing junction boxes (where the lower stove hood was located), weird 1985 vintage communication stuff (old 3-wire telecom junction boxes) and old electric razor outlets. After fixing the issue, I then patched the drywall to make the repair complete.
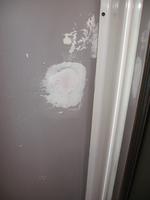
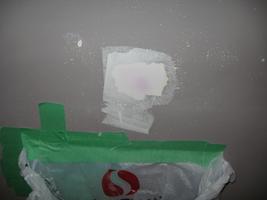
One of the repaired areas was the razor outlet in the lower bathroom. Once patched, it just sat there taunting me to go further. On Oct 2, I accepted the challenge
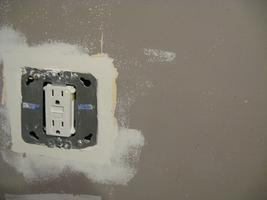
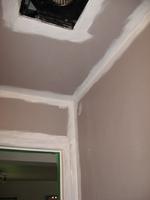
Prep work consisted of fixing all the drywall problems that I could reasonably fix. This included removing old towel racks, insufficient mirrors and various wall plates. Then I patched holes and did a general cleanup of the room.
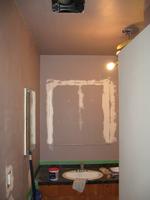
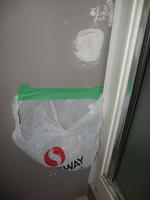
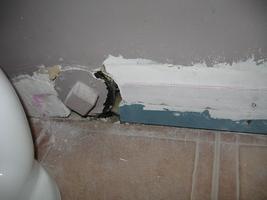
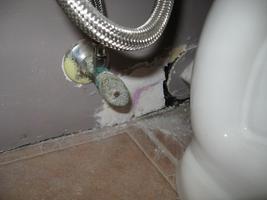
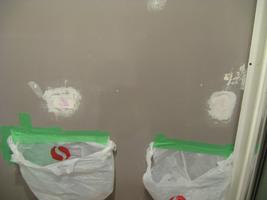
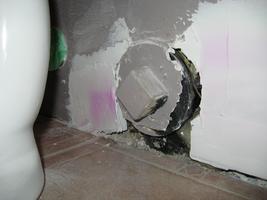
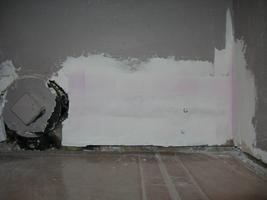
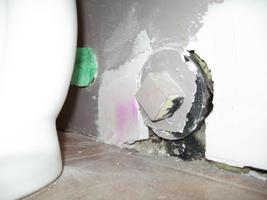
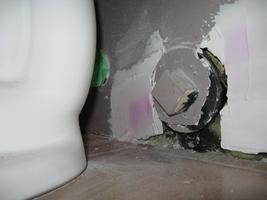
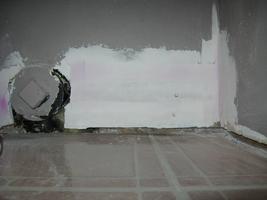
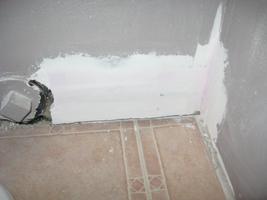
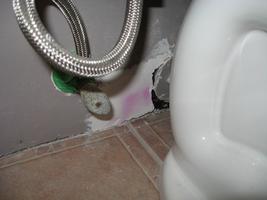
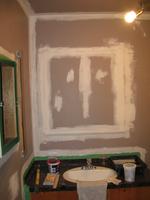
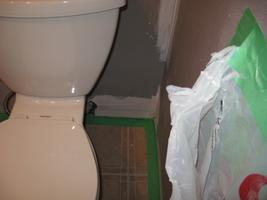
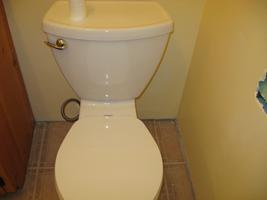
One area caused concern. Behind the toilet was a broken section of drywall. I cut out the break and found good wood, so cut a patch and screwed it into place. Due to a 4in. cleanout, I had to do this as two pieces of drywall, but the end result was good.
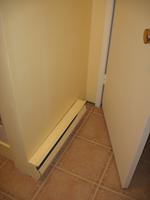
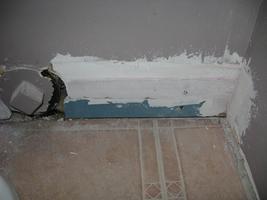
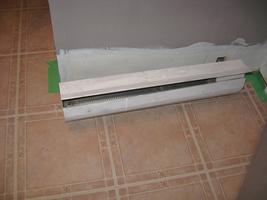
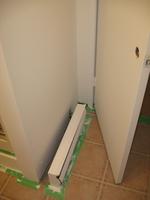
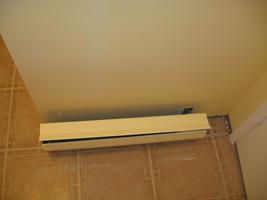
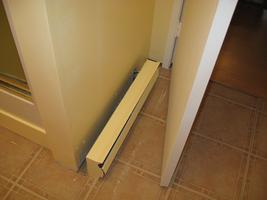
The other area of concern was the baseboard heater. This unit was not properly anchored, and the floor tile under the unit was curled. I cut away the bad floor tile to allow the unit to rest on the concrete slab.
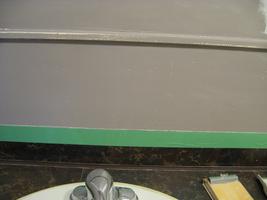
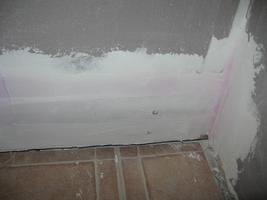
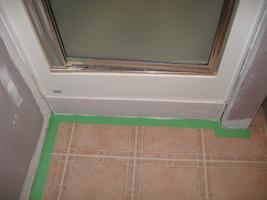
Final prep involved sanding all the walls and removing baseboards.
I also located the 5gal pail of primer left by the previous owner. Prior inspection showed it was good, but in need of a real stirring. I hooked up the large stir rod to the 1/2in drill it would not fit in the drillpress, and then gave everything a complete stir. Afterward, the paint looked fresh and ready to go.

October 3, 2010
Today I started by sanding the four remaining drywall patches that were not completely dry yesterday. One wall patch and the 'behind the toilet' patches required additional coats of drywall compound, so this was done and allowed to dry. I will begin painting the handwork while these finish getting ready.

October 3, 2010
Painting
You cannot roll the walls until the corners and trim have been painted by hand, so I took my 1in brush and a small tub of the paint and started with all corners and trim. I also painted the baseboard heater, as I've found they take paint very well and look so much better with a fresh coat of paint.
Of course, the first coat looks like crap when you are painting white primer over a dark color - especially one like "Puke".
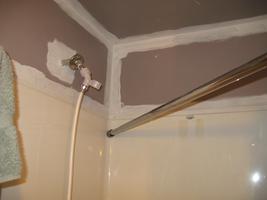
After some lunch, I tackled the roller. Some places were quite straighforward, some rather... 'interesting' (like behind the toilet tank). In the end it was fairly quick work to get the first coat of paint rolled onto the walls and back of the door.
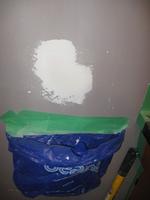
After the paint was on, I checked the remaining drywall patch - behind the toilet. The larger patch was dry and with a quick sand was now ready for paint. The smaller patch was not dry, but with a small re-application of compound and a bit of a sand, it will be ready for paint tomorrow. I'll have to fast-track that small area, but it should not pose a problem.
 100310 01.jpg)
 100310 02.jpg)
 100310 03.jpg)
 100310 04.jpg)
 100310 05.jpg)
 100310 06.jpg)
 100310 07.jpg)
 100310 08.jpg)
 100310 09.jpg)
Just before supper I gave the walls a second coat of brush paint - corners and around trim. After supper I gave the walls a second coat of paint using the roller. It looks much better now, but there is still a need for more coats, given the darkness of the original color. Although you cannot really see it in the photos, there is still visible signs of the darker original paint in many areas.
 100310 1.jpg)
 100310 2.jpg)
 100310 3.jpg)
 100310 4.jpg)
 100310 5.jpg)
 100310 6.jpg)
 100310 7.jpg)
October 4, 2010
As expected, once the paint has had a chance to dry overnight, the color evens out and it looks much better. Still, the corners showed more darkening than I wanted. Before breakfast I gave the corners and trim another coat of paint, this time using a larger angled brush.
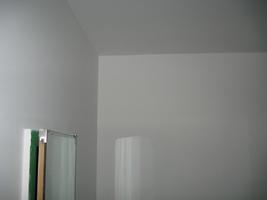
During lunch I took these pictures. I think the corners will require another coat of paint, and then the whole room needs one more roller coat.
 100410 01.jpg)
 100410 02.jpg)
 100410 03.jpg)
 100410 04.jpg)
 100410 05.jpg)
 100410 06.jpg)
 100410 07.jpg)
 100410 08.jpg)
 100410 09.jpg)
After supper, I decided to do the third coat - brushwork and roller, as the last coat had been drying for more than four hours (the recommended time between coats). This coat went on a bit easier than the previous coats of paint, but still took quite a bit of paint to get even coverage.
 100410 1.jpg)
 100410 2.jpg)
 100410 3.jpg)
 100410 4.jpg)
 100410 5.jpg)
 100410 6.jpg)
 100410 7.jpg)
 100410 8.jpg)
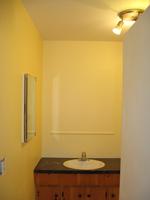
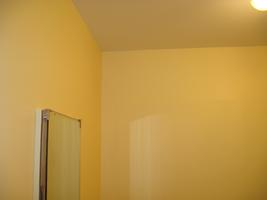
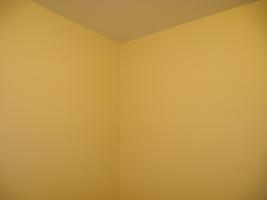
Pictures of the primer coat Oct 5, 2010.
October 7, 2010
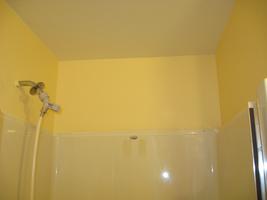
Just before suppertime I decided to paint the color coat. I had obtained some special masking tape for delicate (newly painted) surfaces, and so applied it to the ceiling and the door trim. Then I mixed up two shades of yellow - one from the upper level and one from the recent main bedroom paint job into a nice light yellow. One coat was all that was required, and I was done by suppertime.
Once the paint has had time to cure, I will install the various towel racks, electrical plates, baseboard and other finishing items.
October 18, 2010
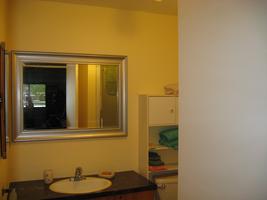
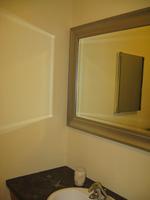
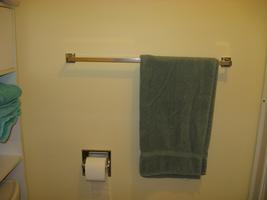
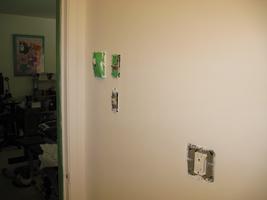
This evening I figured the paint had cured enough to install the accessories and covers in the bathroom. Things went well. The towell rack under the cabinet was mounted securely on two studs, while the towell rack beside the shower managed one stud, with anchors for the other end. The mirror went up nicely on it's heavy-duty twin hangers. The towell cabinet cleaned up nicely and looks nice above/behind the toilet.
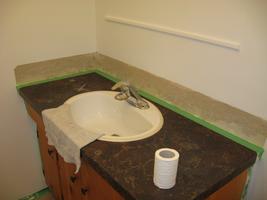
All-in-all I am very happy with the renovation. I still have baseboard to get and install, as well as some sort of trim for the shower stall. I also have to refinish the cabinet and counter, plus get and install a new sink. All in good time...